Data modification
In this section, we will learn the basic syntax for the INSERT, UPDATE, DELETE, and SELECT statements.
Adding Data with INSERT
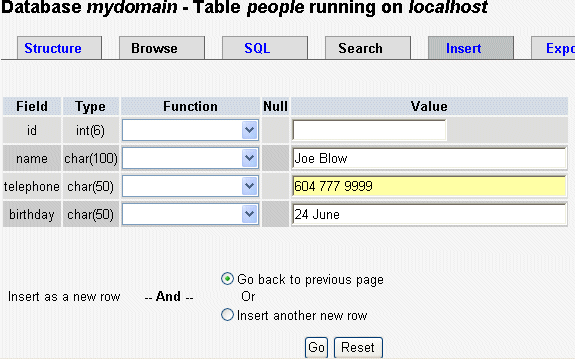
Let's first examine the INSERT statement, by looking at the code phpMyAdmin generates when we do an Insert operation. We bring up the Insert sub-page, in Table view for the countries table, and we enter data about a country:
When we click Go, the data is inserted and phpMyAdmin shows us the INSERT statement used:
INSERT INTO `countries` ( `country_code` , `country_name` )
VALUES ('ca', 'Canada');
After the INSERT INTO part, we have the table name. In MySQL, we can enclose table names and column names within backticks, in case there are special characters in them, like reserved words or accented characters. Then we open a first set of brackets, listing the columns in which we want to insert, separated by commas. The reserved word VALUES follows, then the last set of brackets enclosing the values, in the same order as the columns list. If the values have a character data type, we have to enclose them within quotes.
We can now insert a city.
INSERT INTO `cities` ( `id` , `city_name` , `latitude` , `longitude` , `population` , `country_code` )
VALUES ('', 'Sherbrooke', '45 23 59.00', '-71 46 11.00', 125000, 'ca');
Here, we put an empty value for id, because this column's auto-increment attribute will provide a value. We also see that the population value, being numeric, does not need to be surrounded by quotes.
Let's end this section by inserting some data for another country and city, which we will need later.
INSERT INTO `countries` ( `country_code` , `country_name` )
VALUES ('zh', 'China');
INSERT INTO `cities` ( `id` , `city_name` , `latitude` , `longitude` , `population` , `country_code` )
VALUES ('', 'Shanghai', '31 13 58.00', '121 26 59.99', 11000000, 'zh');
Updating Data with UPDATE
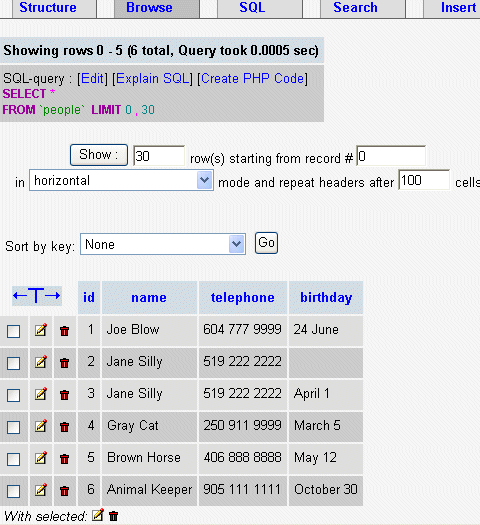
We first click on Browse for table cities, displayed our single row of data.
By clicking on the small pencil-shaped icon (or Edit link), we go to the Edit panel for this row. We decide to change the population value to 130000. After a click on Save, phpMyAdmin shows the following statement:
UPDATE `cities` SET `population` = '130000' WHERE `id` = '1' LIMIT 1 ;
Here we have the UPDATE keyword, followed by the table name. The SET keyword introduces the list of modifications (here only the population), which follows the format column = new value.
We now see the condition WHERE `id` = '1', which uses the primary key information to limit the change to only this row, i.e. only this city.
The limit 1 part is a safeguard added by phpMyAdmin, in case there would be no primary key defined, to avoid doing the change to more than one row.
More than one column can be changed in a single UPDATE operation:
UPDATE `cities` SET `city_name` = 'Sherbrooke, Qu�bec',
`population` = '130001' WHERE `id` = '1' LIMIT 1 ;
Deleting Data with DELETE
In Browse mode on table cities, clicking on the small red trash-can icon (or Delete link) brings up a dialog to confirm the execution of the following statement:
DELETE FROM `cities` WHERE `id` = '1' LIMIT 1 ;
The syntax is simple, involving just the table name, and the condition to apply for the delete operation.


